 English (UK)
 English (US)
 Français
 Deutsch
 Español
 Italiano
 Nederlands
 简体中文
Un mini-guide de
City Centre & Bullring: getting there
Stops, stations and how to reach City Centre & Bullring
Arrêts et stations
Getting to City Centre & Bullring
Choisissez l'arrêt le plus proche de votre destination.
| Arrêt ou station | Services | Idéal pour |
|---|---|---|
| Birmingham New Street | National Rail | Main station, under Grand Central; step-free to all platforms |
| Birmingham Moor Street | National Rail | Chiltern Railways station next to the Bullring |
| Birmingham Snow Hill | National Rail | Colmore Row; local trains and some Chiltern services |
| Grand Central | West Midlands Metro | Tram stop at New Street station |
| Town Hall | West Midlands Metro | Tram stop for Victoria Square |
| Bull Street | West Midlands Metro | Tram stop near the cathedral |
Within walking range
Stations near City Centre & Bullring
Stations and stops mapped in OpenStreetMap within 2.5 km of the centre of City Centre & Bullring, nearest first. Distances are straight lines; walking times assume 5 km/h and are a minimum.
| Station or stop | Type | Distance | À pied |
|---|---|---|---|
| Corporation Street | Tram stop (Midland Metro Limited) | 100 m | about 2 min |
| Colmore Row Bus Station | Bus or coach station | 300 m | about 3 min |
Station data: © OpenStreetMap contributors (ODbL), read 3 November 2026. Check step-free access with the operator before you travel.
Walking from nearby areas
- Brindleyplace & the Canals: 700 m from City Centre & Bullring, about 9 min on foot
- Digbeth & Eastside: 900 m from City Centre & Bullring, about 11 min on foot
- Jewellery Quarter: 1.2 km from City Centre & Bullring, about 14 min on foot
Reaching Birmingham
Informations officielles sur les transports
Birmingham has an airport east of the city with its own railway station, three city-centre railway stations and a coach station in Digbeth. Always check the operator for current times, fares and disruption.
- Visit Birmingham → — the official visitor site
- Visit Birmingham: getting around → — walking, public transport and taxis
- Transport for West Midlands → — journey planner, timetables, Swift tickets
- West Midlands Metro → — tram stops, tickets and planned works
- National Rail: Birmingham New Street → — station facilities and step-free access
- National Rail: Birmingham Moor Street → — station facilities and step-free access
- National Rail: Birmingham Snow Hill → — station facilities and step-free access
- Chiltern Railways → — London Marylebone to Moor Street and Snow Hill
- Avanti West Coast → — London Euston to New Street
- Brum Breathes (Clean Air Zone) → — check whether your vehicle is charged and pay
Les horaires, les tarifs et les perturbations changent : consultez les pages des opérateurs ci-dessus pour des informations en direct.
Planifiez votre trajet ici
Enter your starting point and Google Maps will show routes to City Centre & Bullring. Public transport is selected; change it on the map. Check operator sites for live disruption.
While you are here
Things to see in City Centre & Bullring
A few of the sights in the area. The Things to do page lists them all, with directions and official links.
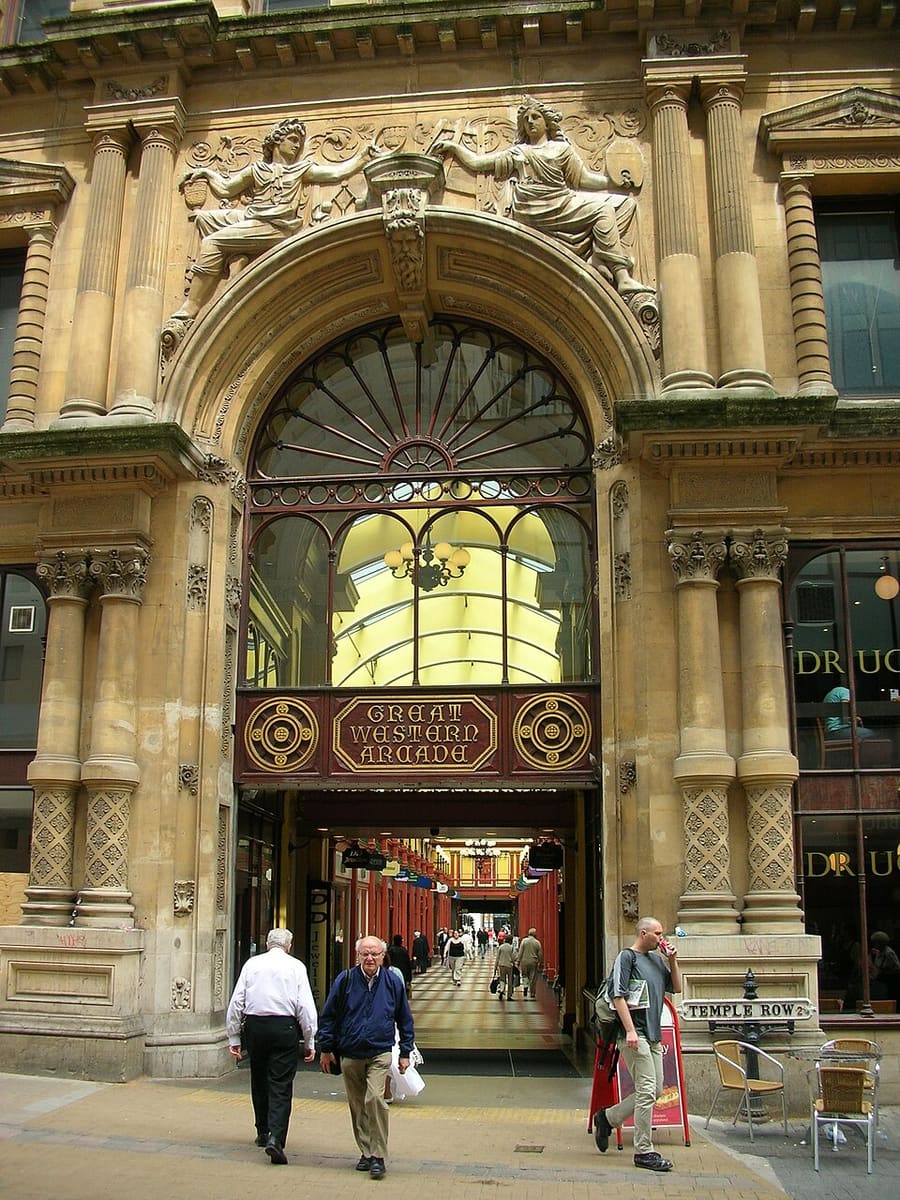
Great Western Arcade
Grade II listed Victorian covered arcade between Colmore Row and Temple Row.
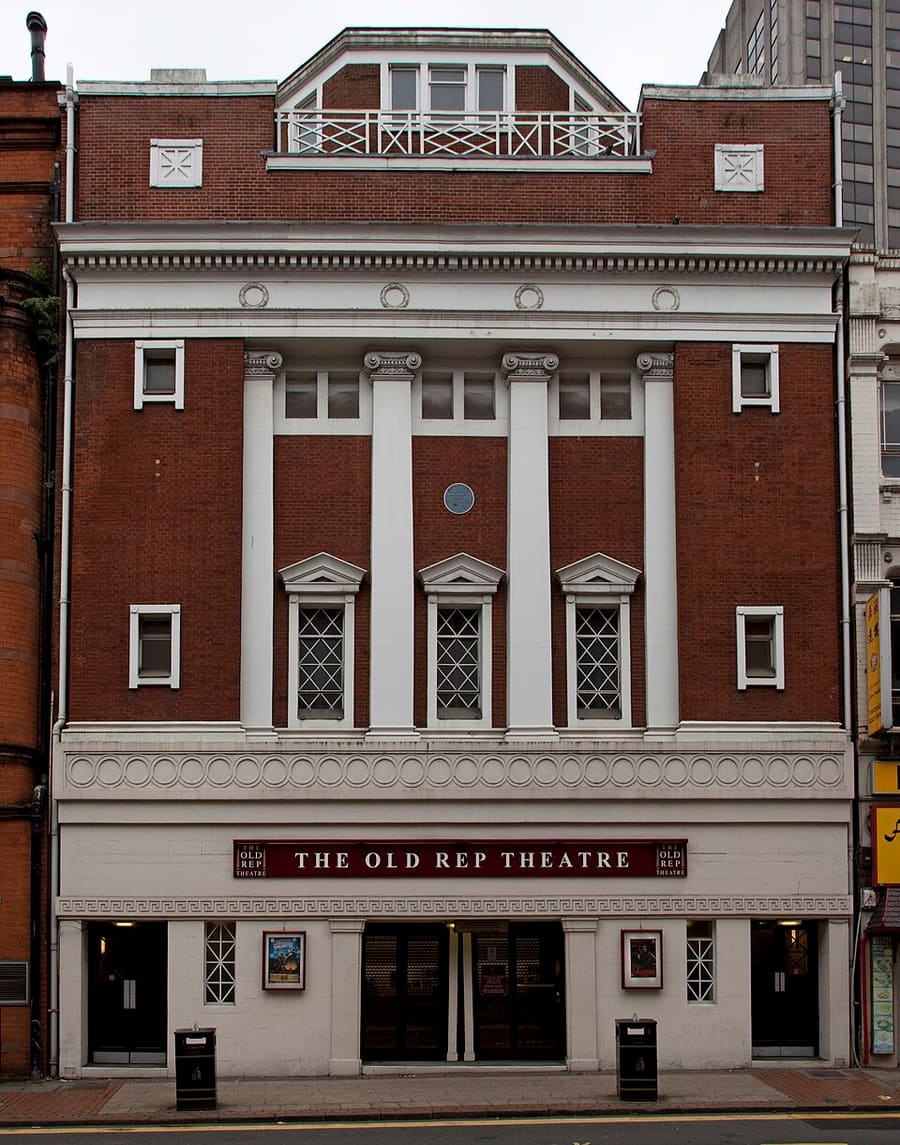
The Old Rep
Grade II listed theatre on Station Street, opened in 1913 as the first purpose-built repertory theatre in the UK.
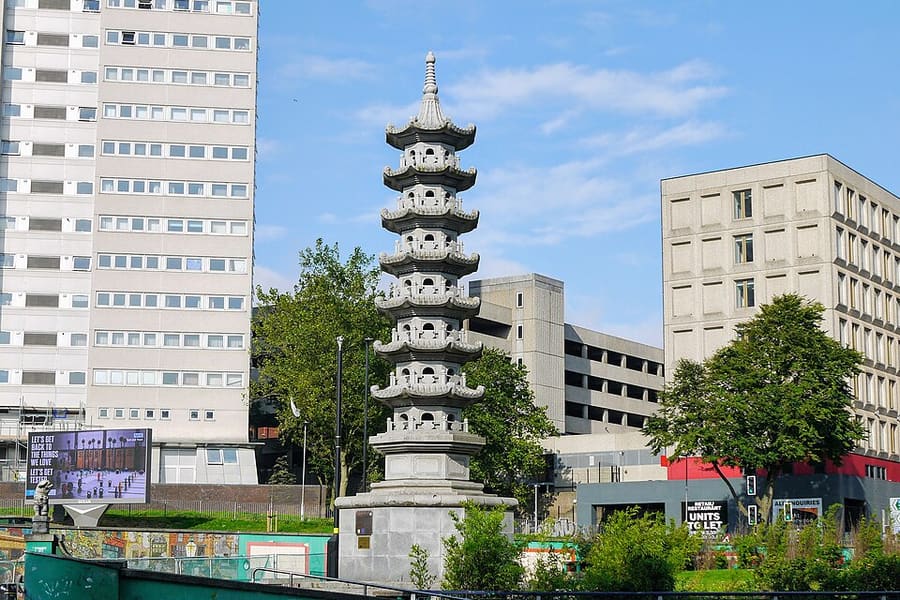
Chinese Pagoda
Granite pagoda carved in Fujian, China, and given to the city by the Wing Yip brothers.
Birmingham
More areas to explore
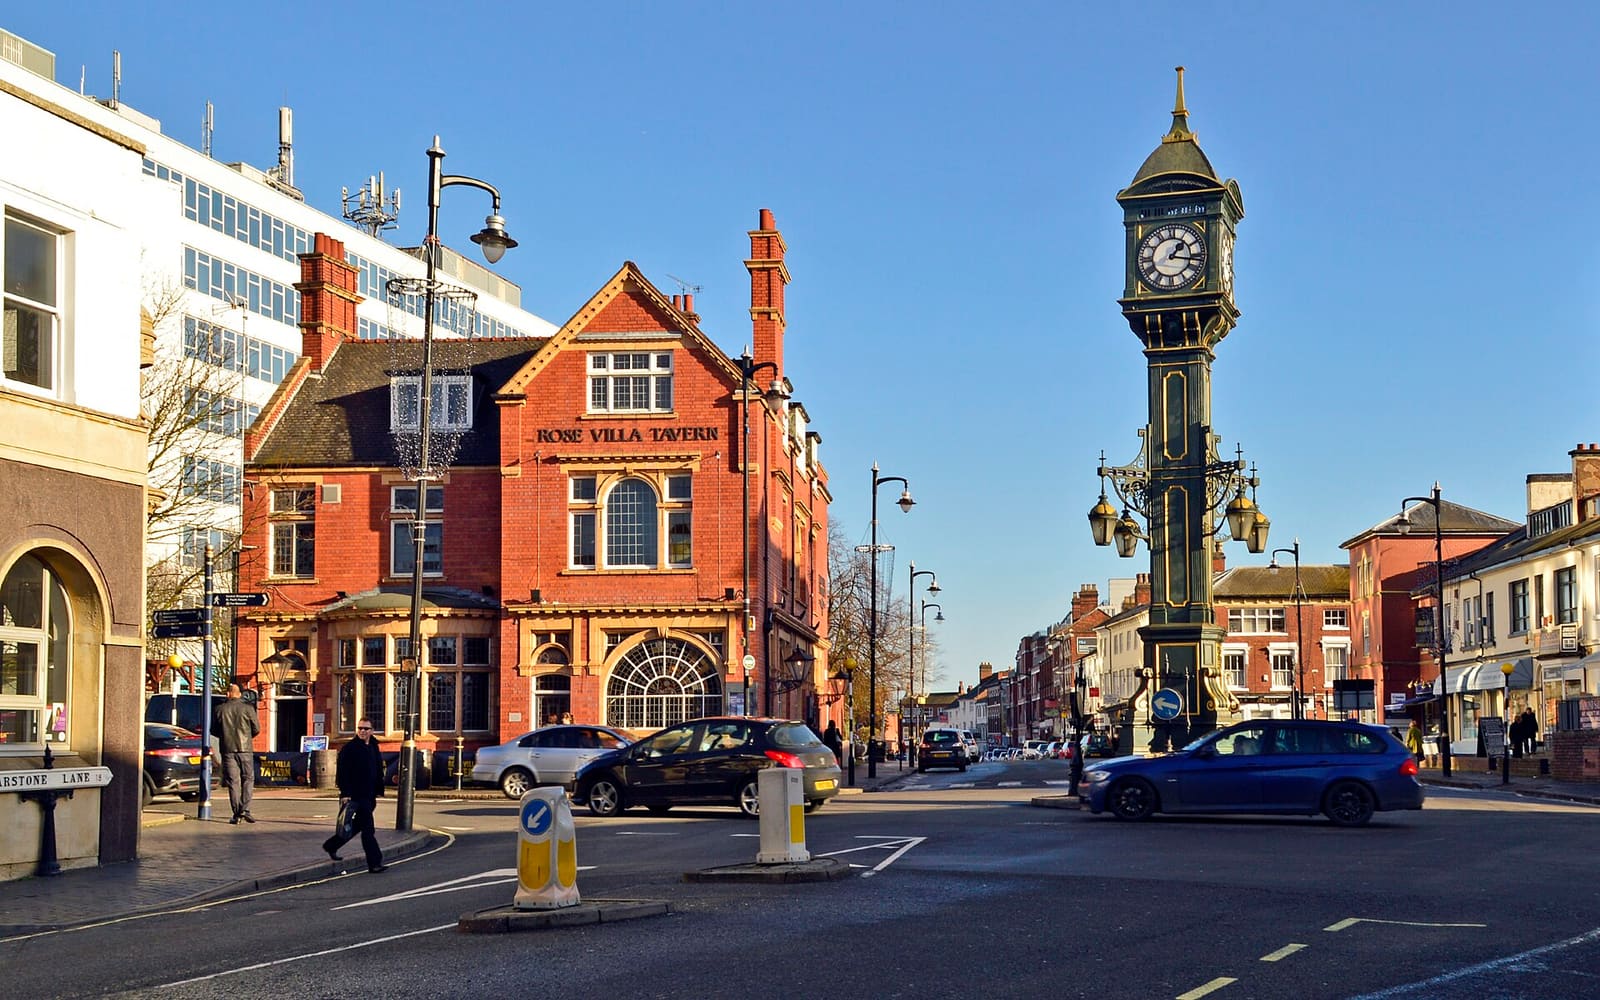
Jewellery Quarter
Workshops, small museums and a Georgian square in a working jewellery district
Ouvrir le mini-guide →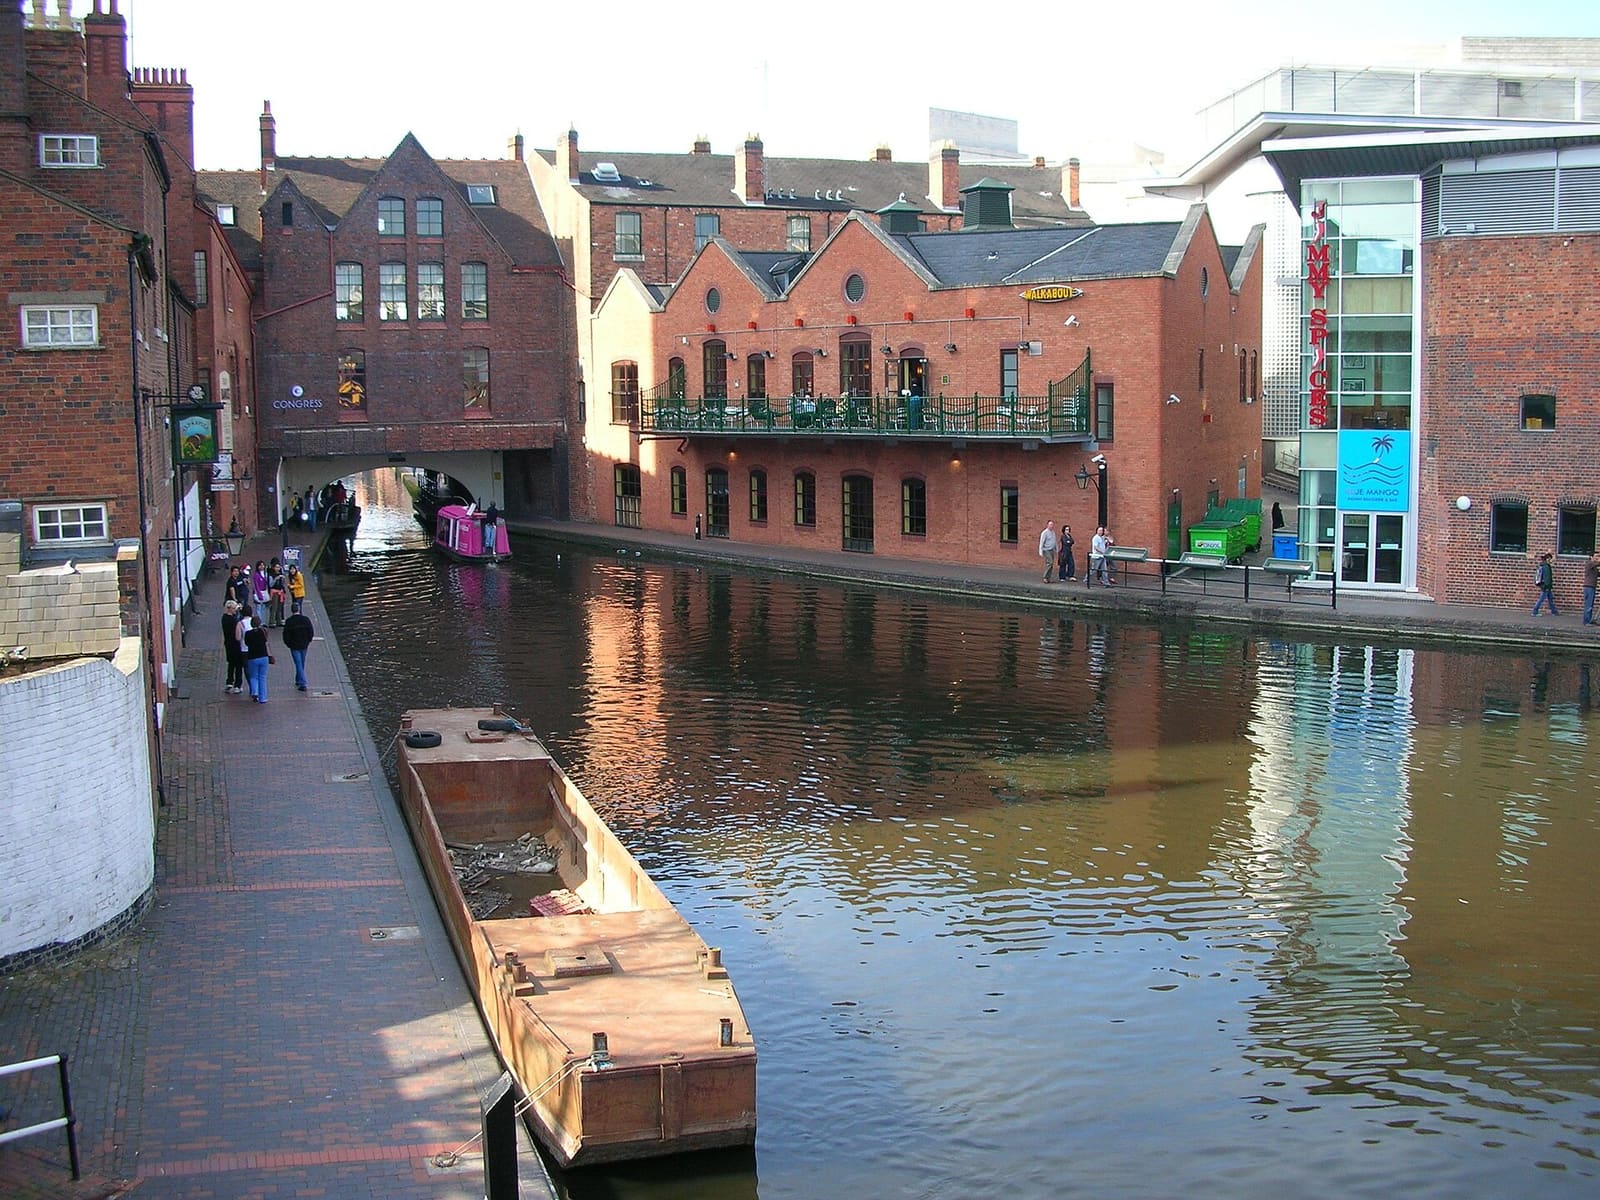
Brindleyplace & the Canals
Gas Street Basin, Centenary Square and the concert halls and canalside squares of Westside
Ouvrir le mini-guide →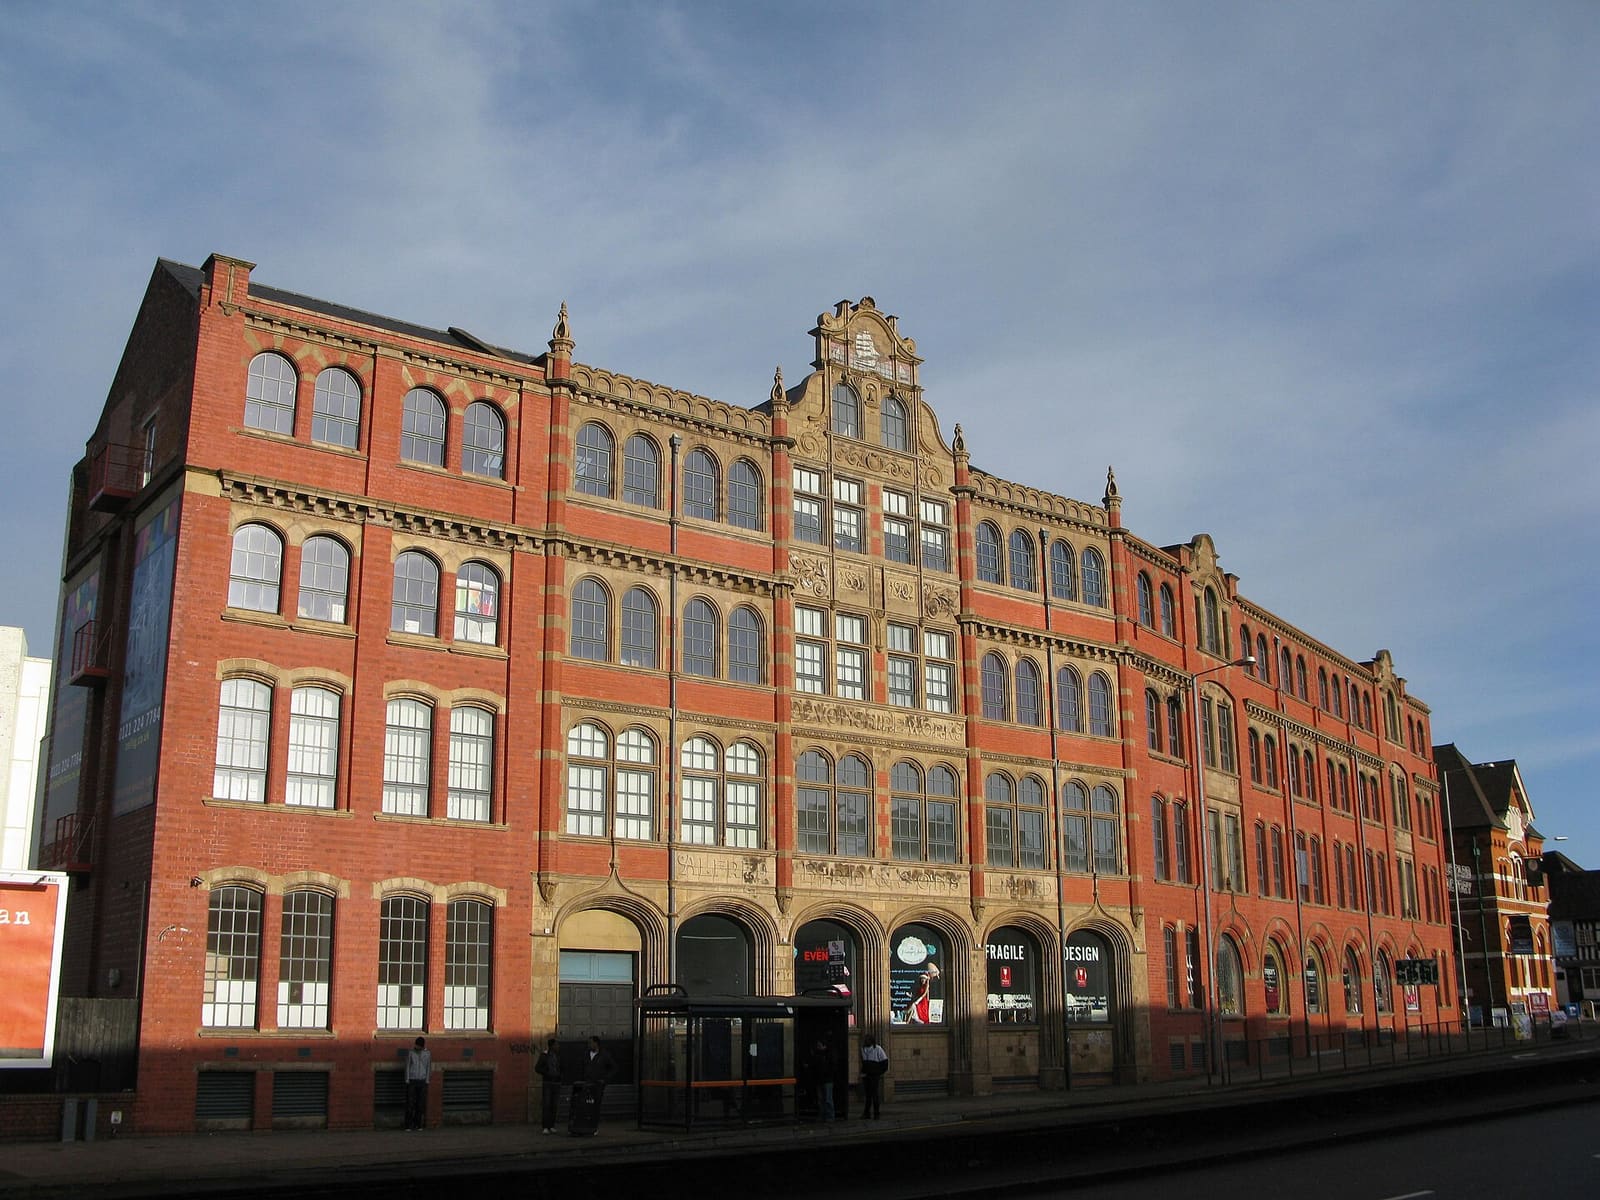
Digbeth & Eastside
Former factories turned studios, music venues and street food, beside the new Eastside park
Ouvrir le mini-guide →Crédits photos
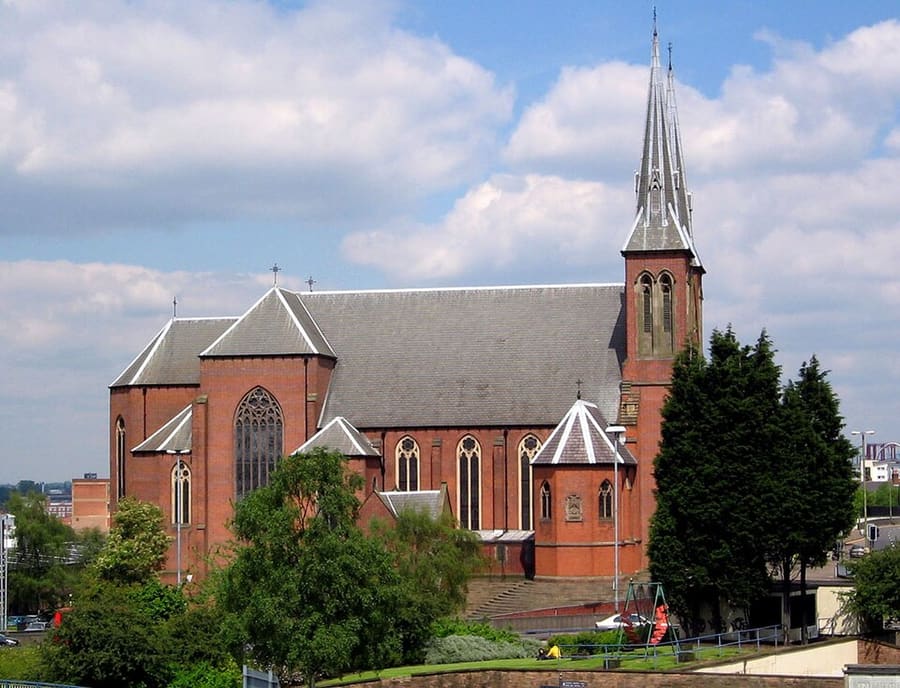
- St Chad's Cathedral: G-Man at English Wikipedia, Public domain, source
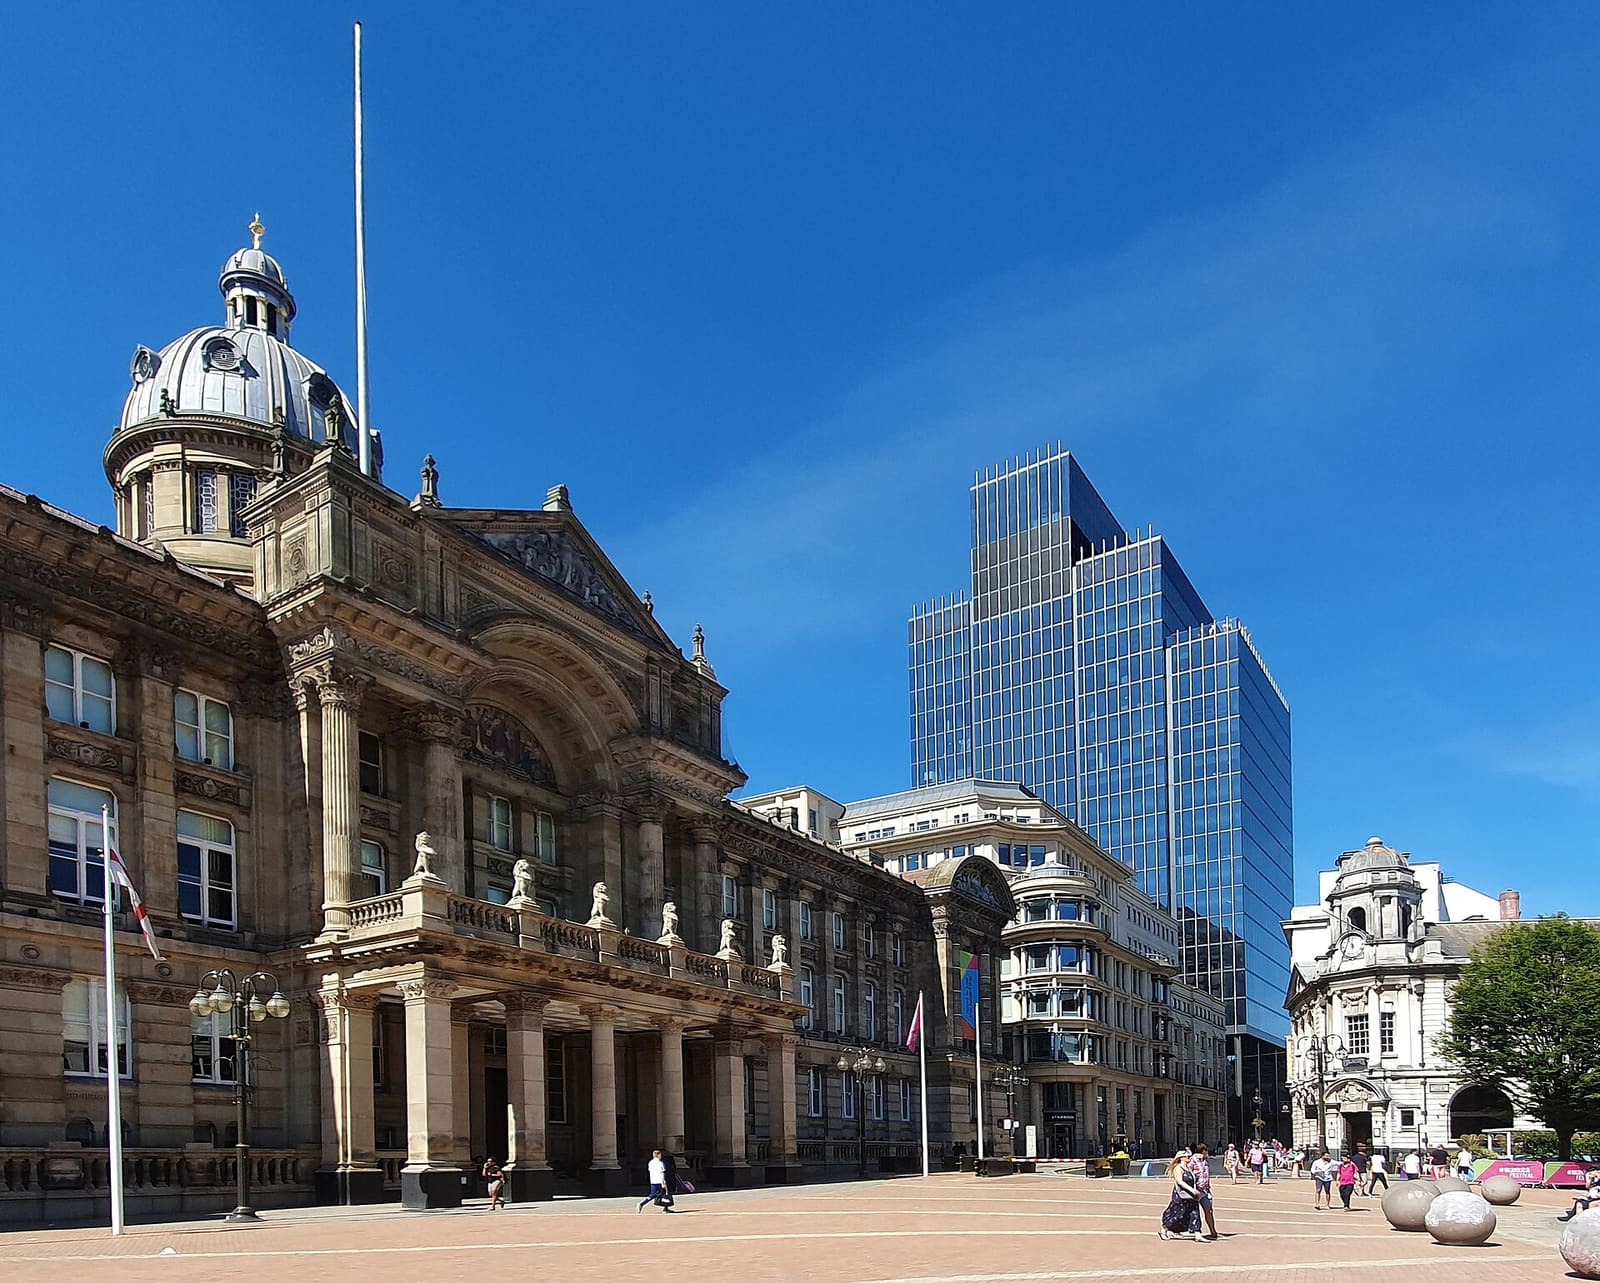
- City Centre & Bullring (area photo): Mutney, CC BY-SA 4.0, source
- Great Western Arcade: Oosoom at English Wikipedia, CC BY-SA 3.0, source
- The Old Rep: Tony Hisgett from Birmingham, UK, CC BY 2.0, source
- Chinese Pagoda: Peter_Glyn, CC BY-SA 3.0, source
- Jewellery Quarter: Brian Clift, CC BY 2.0, source
- Brindleyplace & the Canals: Oosoom at English Wikipedia, CC BY-SA 3.0, source
- Digbeth & Eastside: Brianboru100, CC BY-SA 3.0, source
Photos from Wikimedia Commons, used under the licences shown. All photo credits
Keep exploring Birmingham