 English (UK)
 English (US)
 Français
 Deutsch
 Español
 Italiano
 Nederlands
 简体中文
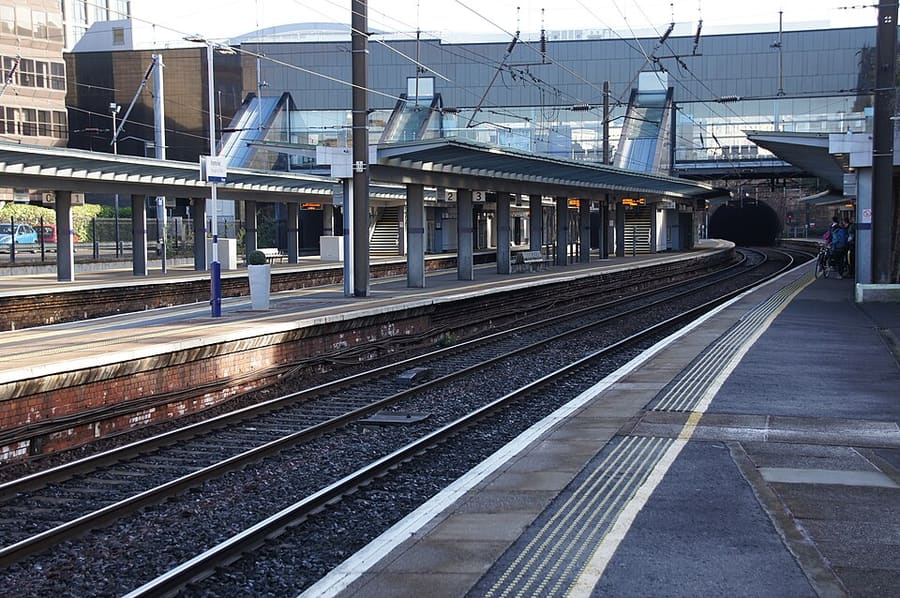
A mini guide to
Haymarket & Murrayfield: getting there
Stops, stations and how to reach Haymarket & Murrayfield
Stops and stations
Getting to Haymarket & Murrayfield
Choose the stop closest to where you are going.
| Stop or station | Services | Good for |
|---|---|---|
| Haymarket | ScotRail and Edinburgh Trams | Second largest station in Edinburgh, with trains to Fife and Glasgow and the tram to the airport |
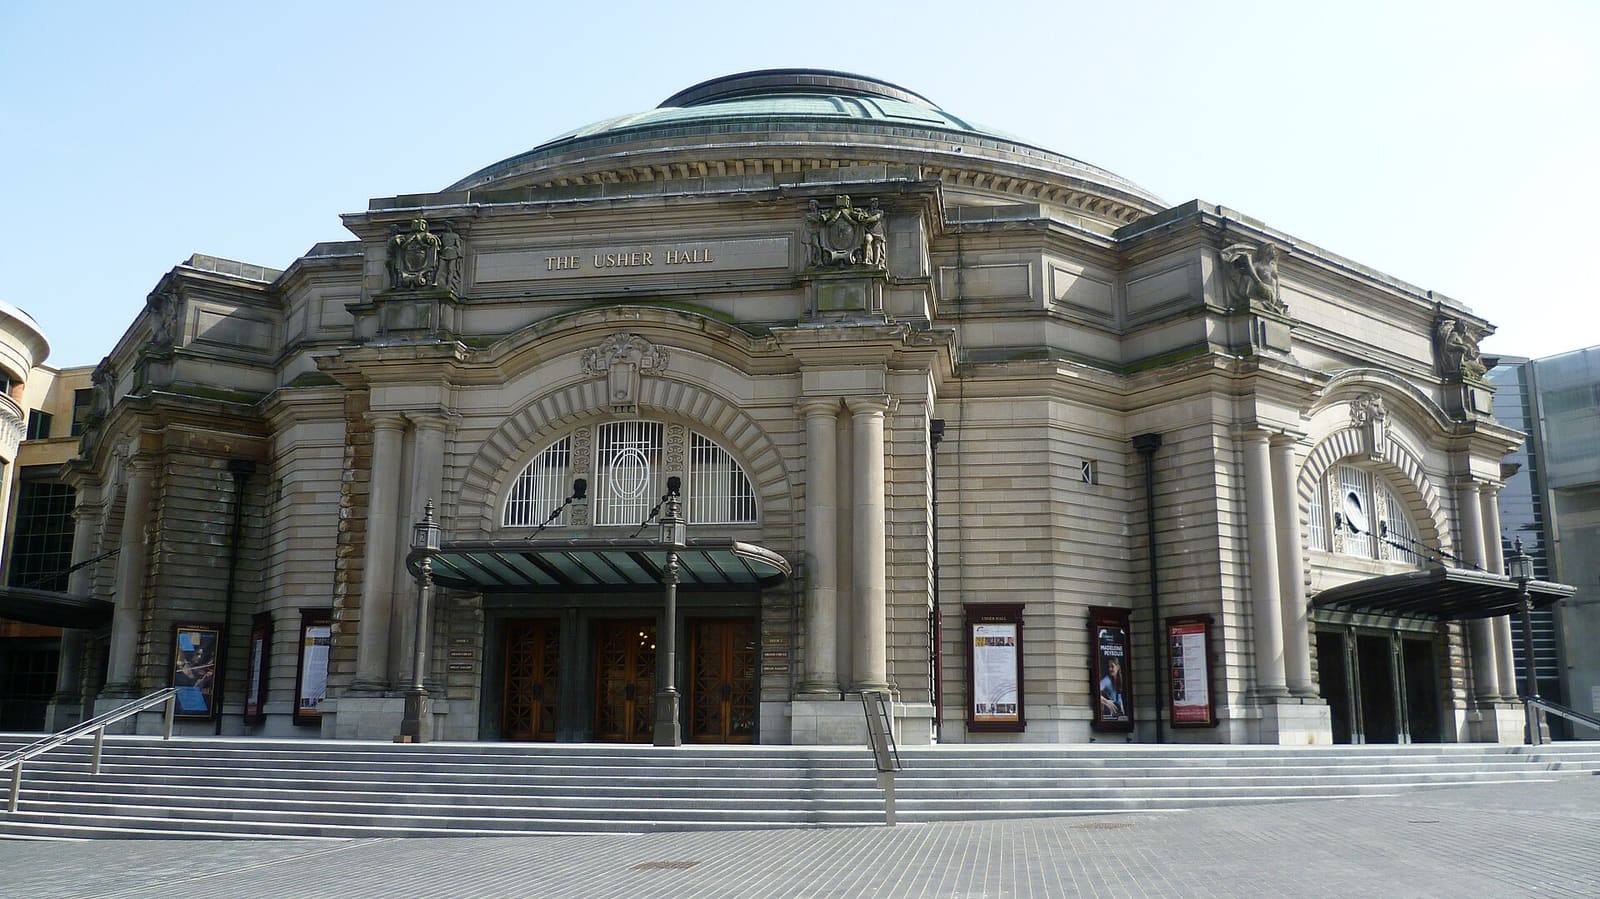
| West End | Edinburgh Trams | Tram stop for the Usher Hall and the theatres |
| Murrayfield Stadium | Edinburgh Trams | Tram stop beside the national stadium |
| Lothian Buses | City bus routes | Routes run along Lothian Road, Dalry Road and Corstorphine Road; check the operator for services to the zoo |
Within walking range
Stations near Haymarket & Murrayfield
Stations and stops mapped in OpenStreetMap within 2.5 km of the centre of Haymarket & Murrayfield, nearest first. Distances are straight lines; walking times assume 5 km/h and are a minimum.
| Station or stop | Type | Distance | On foot |
|---|---|---|---|
| Balgreen | Tram stop (Edinburgh Trams Ltd.) | 1.7 km | about 20 min |
| Princes Street | Tram stop (Edinburgh Trams Ltd.) | 2.1 km | about 25 min |
| Slateford | Rail station (ScotRail) | 2.4 km | about 29 min |
Station data: © OpenStreetMap contributors (ODbL), read 24 October 2026. Check step-free access with the operator before you travel.
Walking from nearby areas
- Stockbridge & Dean Village: 1.5 km from Haymarket & Murrayfield, about 18 min on foot
- New Town: 2.1 km from Haymarket & Murrayfield, about 26 min on foot
- Grassmarket & Southside: 2.3 km from Haymarket & Murrayfield, about 28 min on foot
- Old Town & Royal Mile: 2.4 km from Haymarket & Murrayfield, about 28 min on foot
Reaching Edinburgh
Official travel information
Edinburgh has an international airport west of the centre, two main railway stations and a central bus station. Always check the operator for current times, fares and disruption.
- Edinburgh Airport: getting to and from the airport → — tram, bus, taxi and train
- Edinburgh Trams → — routes, stops and tickets
- Lothian Buses airport buses → — Airlink
- National Rail Enquiries → — train times and fares
- ScotRail → — trains across Scotland
- Traveline Scotland → — journey planner for buses, trams and trains
- City of Edinburgh Council: plan your journey → — official travel information
- Visit Edinburgh: transport options → — all the ways to arrive
Times, fares and disruption change: use the operator pages above for live information.
Plan your journey here
Enter your starting point and Google Maps will show routes to Haymarket & Murrayfield. Public transport is selected; change it on the map. Check operator sites for live disruption.
While you are here
Things to see in Haymarket & Murrayfield
A few of the sights in the area. The Things to do page lists them all, with directions and official links.
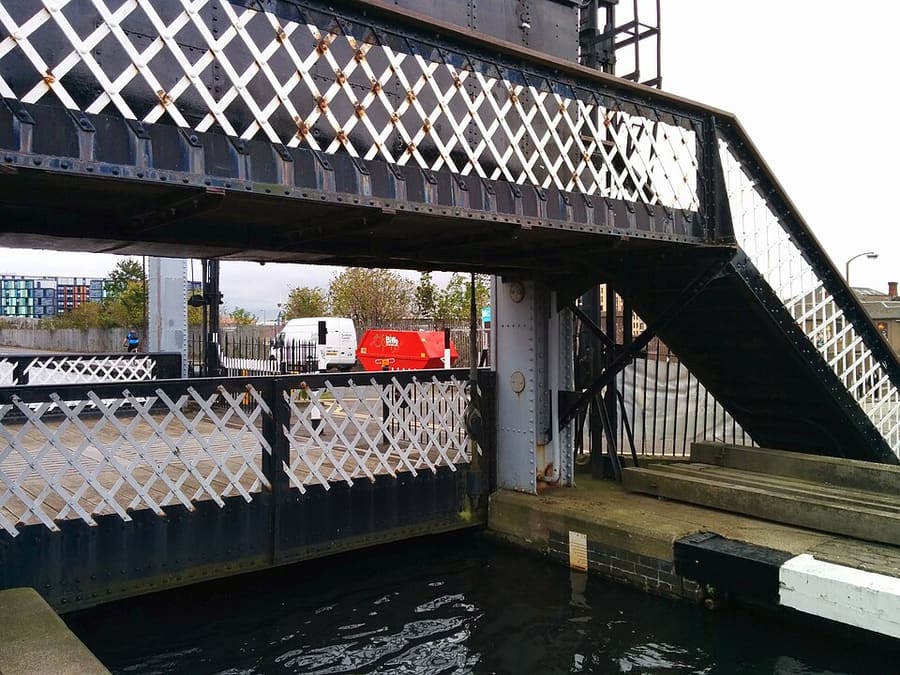
Leamington Lift Bridge
Lift bridge of about 1906 over the Union Canal near its terminus at Lochrin Basin.
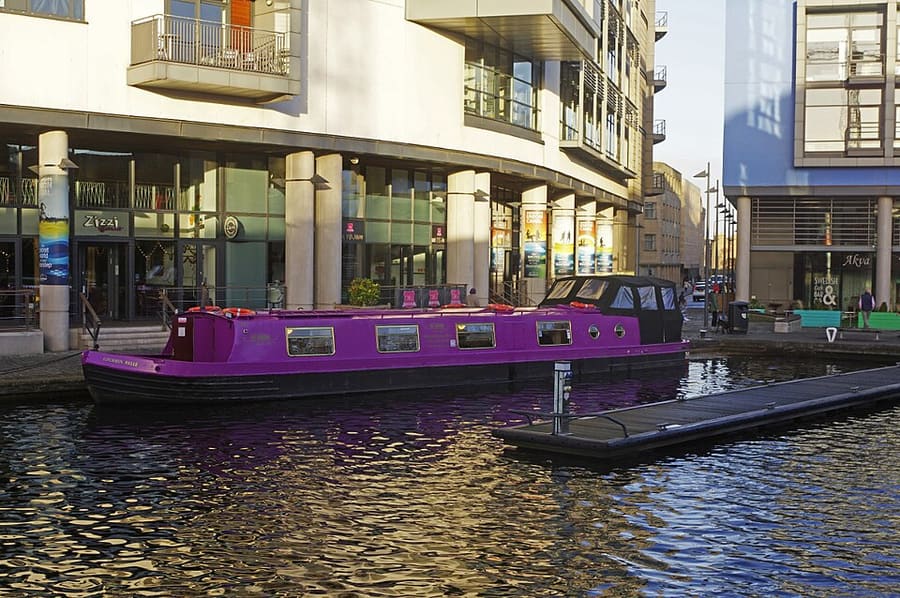
Lochrin Basin
The Edinburgh end of the Union Canal, opened in 1822 and now lined with offices, flats and moorings.
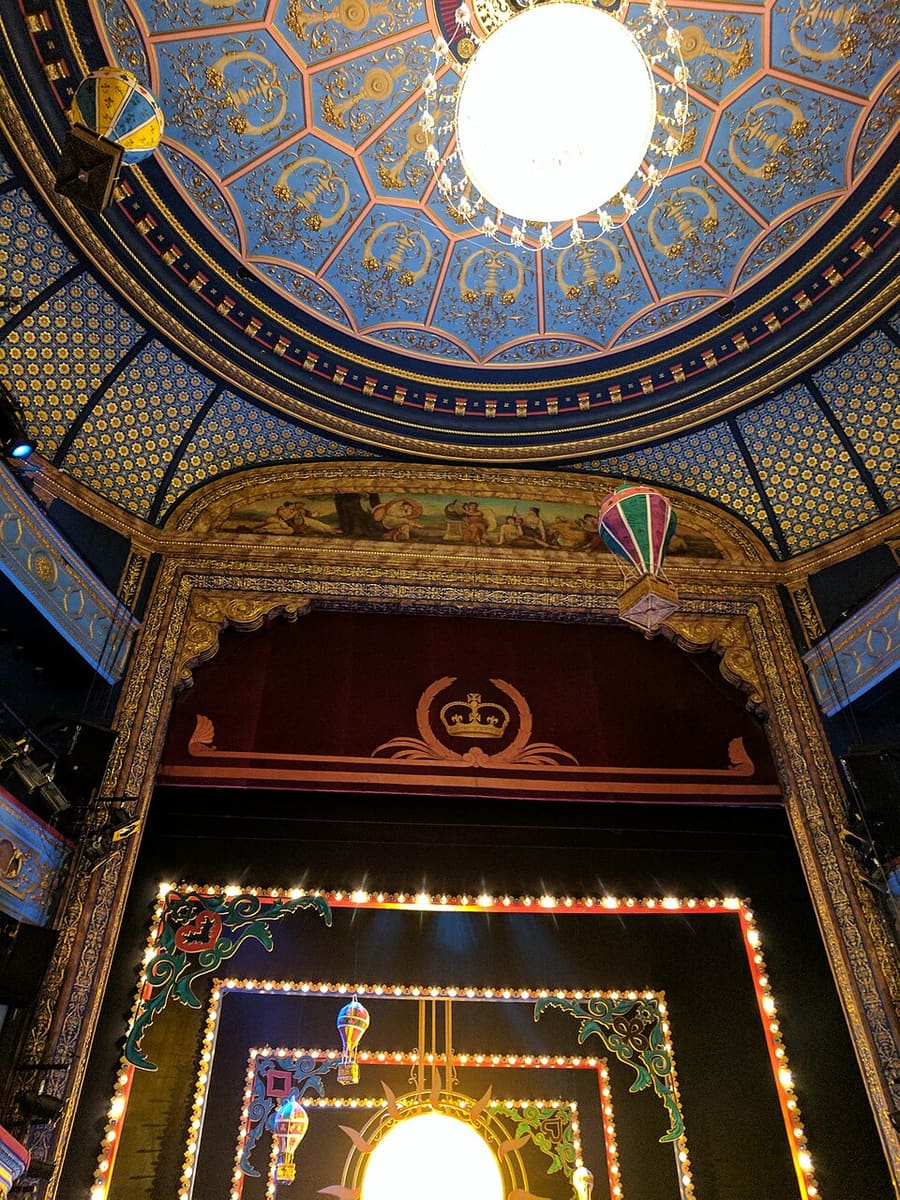
Royal Lyceum Theatre
Victorian theatre of 1883 on Grindlay Street, beside the Usher Hall.
Edinburgh
More areas to explore
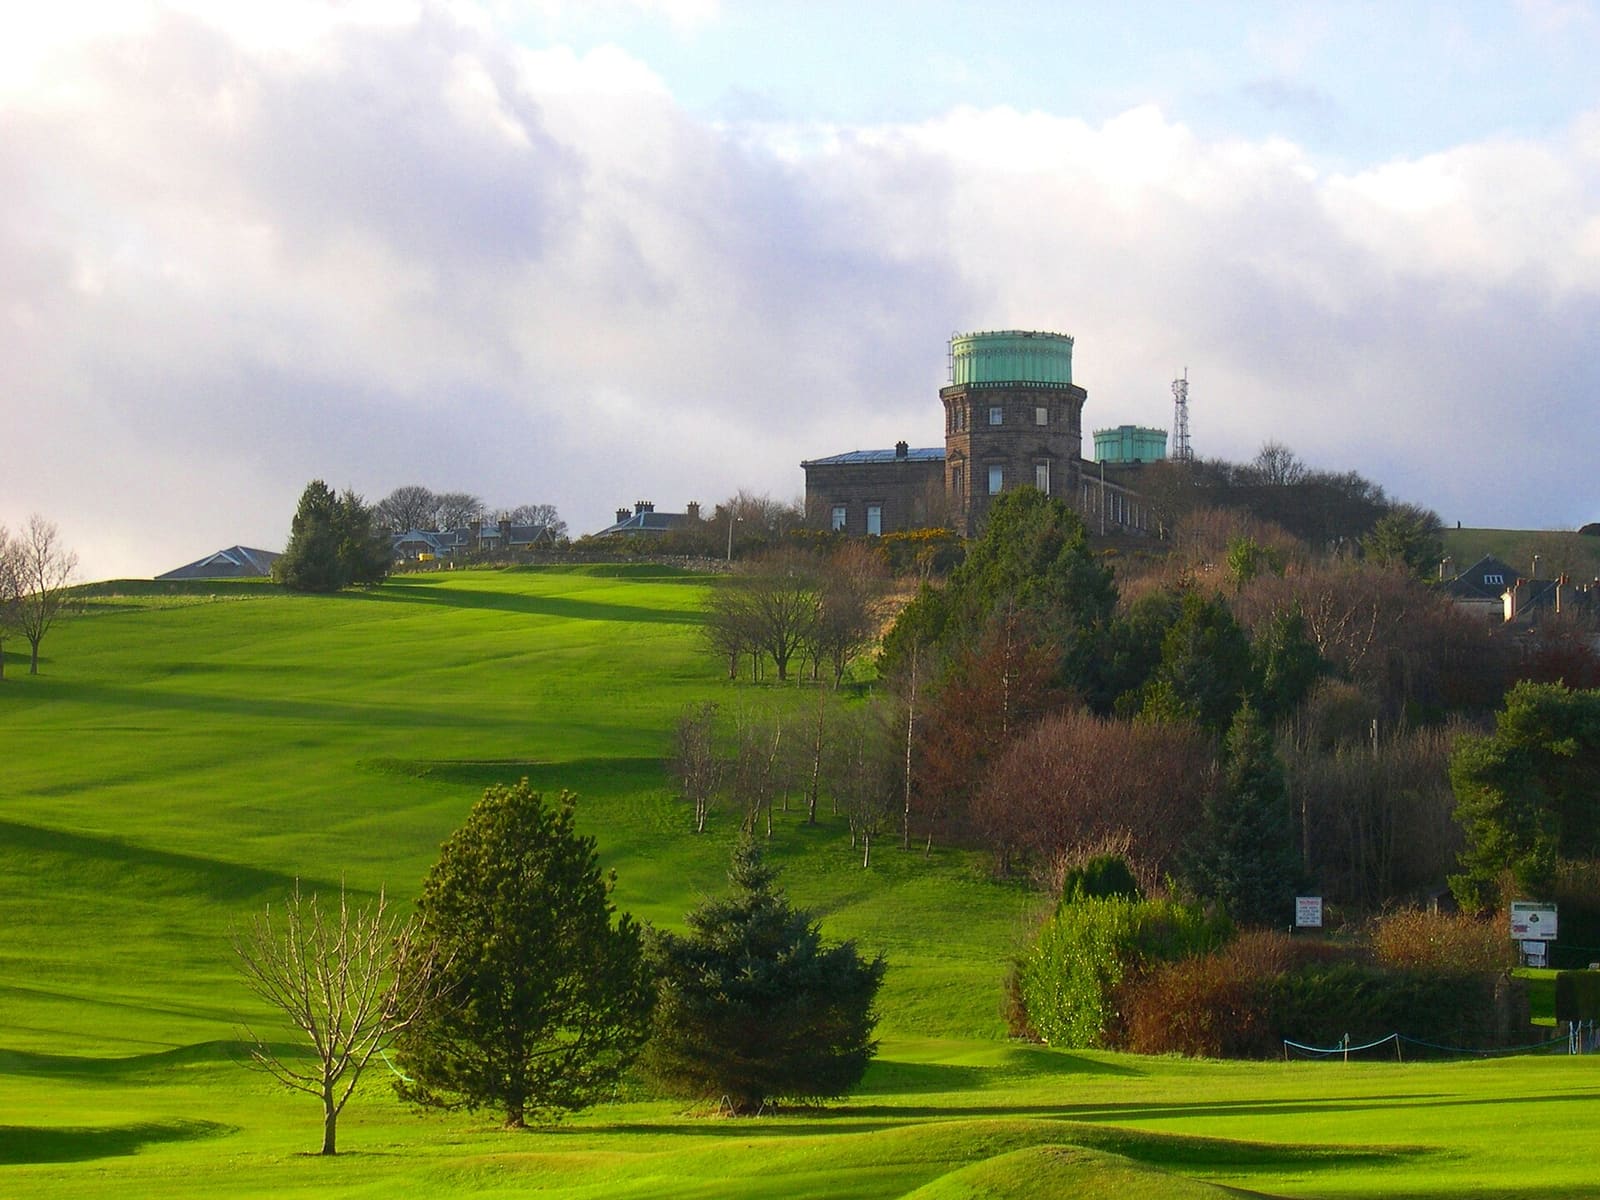
Bruntsfield & Morningside
Leafy southern suburbs with local high streets, Blackford Hill and a hillside observatory
Open the mini guide →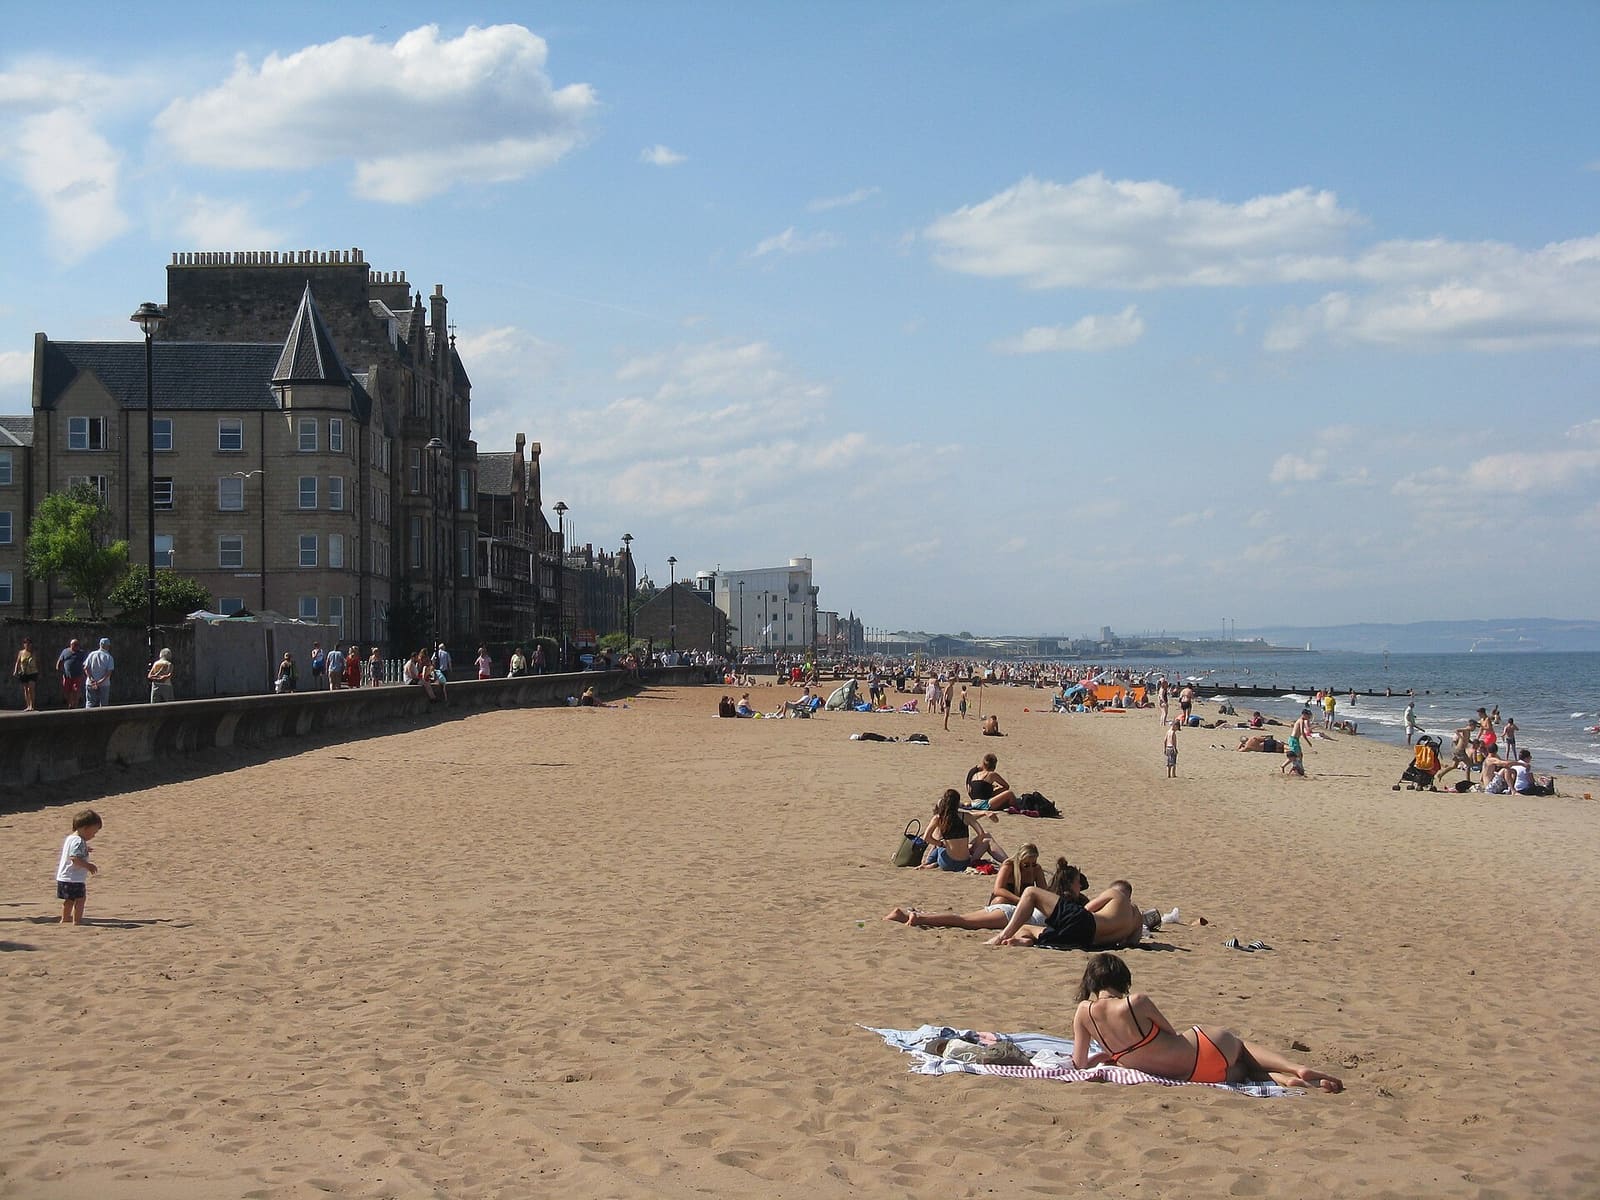
Portobello & the Coast
A sandy beach and Victorian promenade on the Firth of Forth, about 5 km east of the centre
Open the mini guide →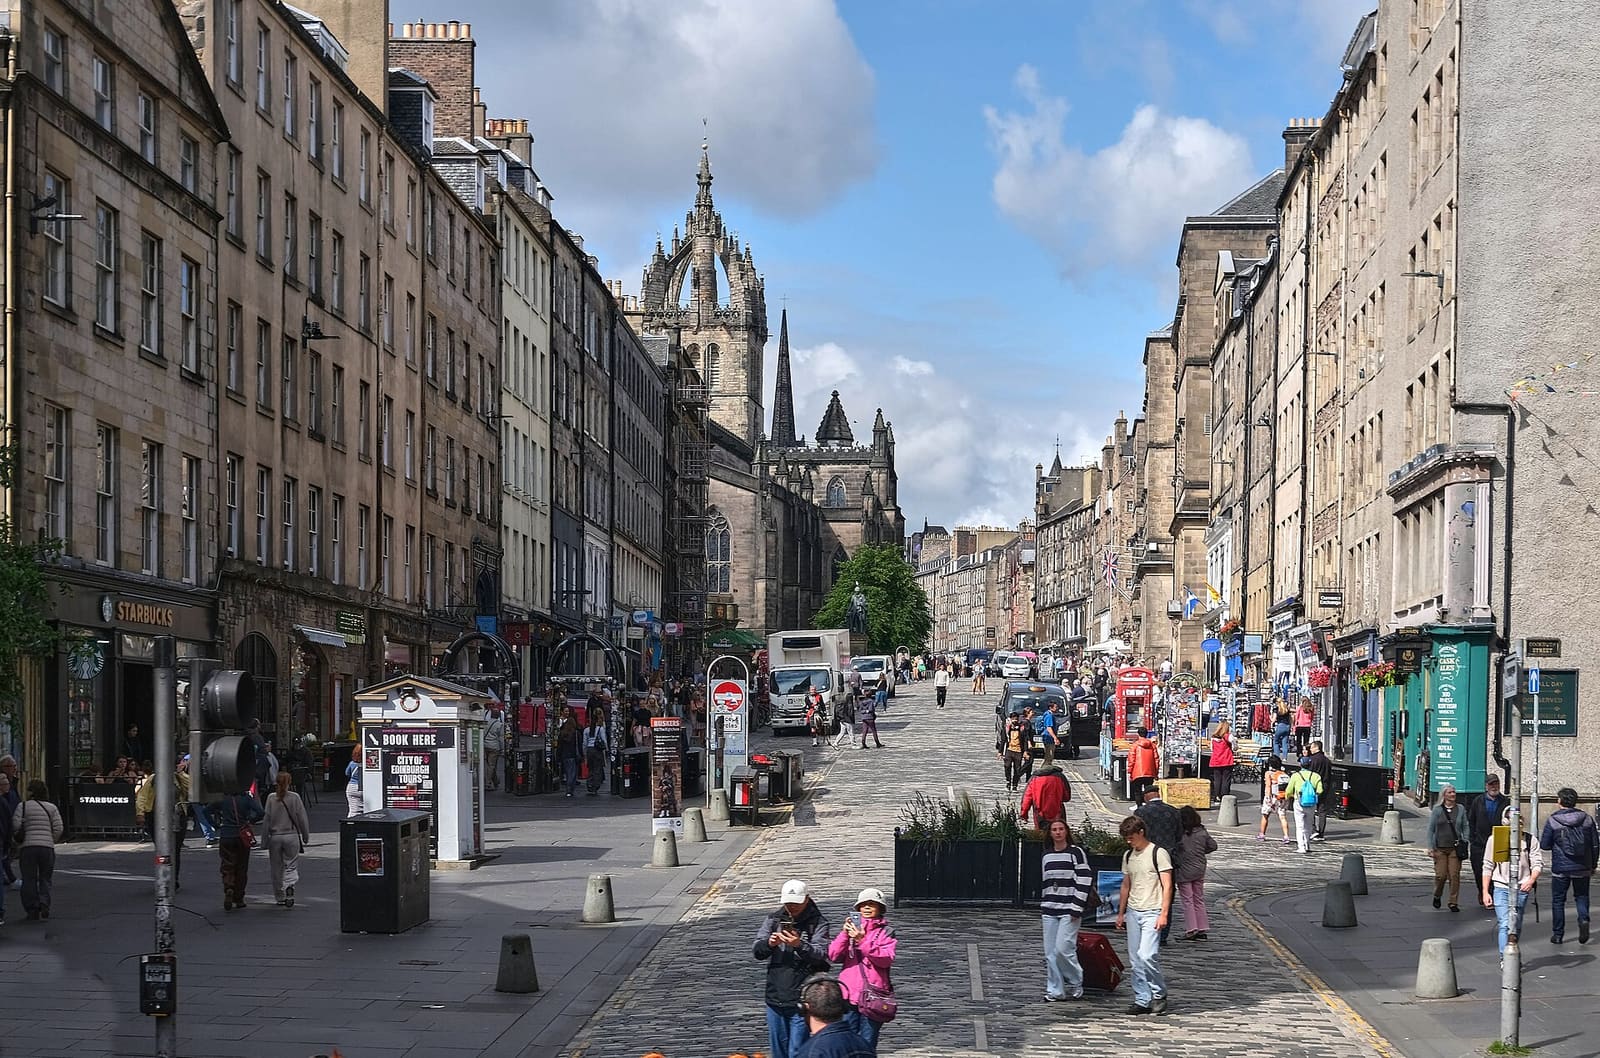
Old Town & Royal Mile
The Castle, the Royal Mile and a maze of medieval closes
Open the mini guide →Photo credits
- Haymarket Station: Fredrik Rubensson, CC BY-SA 2.0, source
- Haymarket & Murrayfield (area photo): Kim Traynor, CC BY-SA 3.0, source
- Leamington Lift Bridge: Ostrichyearning, CC BY-SA 4.0, source
- Lochrin Basin: Stephen McKay, CC BY-SA 2.0, source
- Royal Lyceum Theatre: LochLowry, CC BY-SA 4.0, source
- Bruntsfield & Morningside: Macumba, Public domain, source
- Portobello & the Coast: M J Richardson, CC BY-SA 2.0, source
- Old Town & Royal Mile: Anthony O'Neil, CC BY-SA 2.0, source
- New Town: Chris Morgan, CC BY-SA 2.0, source
- Holyrood, Arthur's Seat & Calton Hill: Peulle, CC BY 4.0, source
- Stockbridge & Dean Village: Mike Shaw, CC BY-SA 4.0, source
- Leith & the Waterfront: Alan Murray-Rust, CC BY-SA 2.0, source
- Grassmarket & Southside: rboed*, CC BY 2.0, source
Photos from Wikimedia Commons, used under the licences shown. All photo credits
Keep exploring Edinburgh