 English (UK)
 English (US)
 Français
 Deutsch
 Español
 Italiano
 Nederlands
 简体中文
Een minigids voor
Cromer & Sheringham: getting there
Stops, stations and how to reach Cromer & Sheringham
Haltes en stations
Getting to Cromer & Sheringham
Kies de halte die het dichtst bij uw bestemming ligt.
| Halte of station | Voorzieningen | Geschikt voor |
|---|---|---|
| Cromer, West Runton and Sheringham stations | Greater Anglia (Bittern Line) | The Bittern Line runs from Norwich to Sheringham, with a typical service of one train an hour each way. |
| North Norfolk Railway | Museumspoorlijn | The Poppy Line runs about five miles from Sheringham to Holt. |
| Coasthopper buses | Sanders Coaches | Coasthopper buses link Cromer with the coast west towards Wells-next-the-Sea. |
Within walking range
Stations near Cromer & Sheringham
Stations and stops mapped in OpenStreetMap within 2.5 km of the centre of Cromer & Sheringham, nearest first. Distances are straight lines; walking times assume 5 km/h and are a minimum.
| Station or stop | Type | Afstand | Te voet |
|---|---|---|---|
| West Runton | Rail station (Greater Anglia) | 900 m | about 10 min |
| Cromer | Rail station (Greater Anglia) | 2.5 km | about 29 min |
Station data: © OpenStreetMap contributors (ODbL), read 3 November 2026. Check step-free access with the operator before you travel.
Walking from nearby areas
- Wells, Holkham & Blakeney: 22.0 km from Cromer & Sheringham, better by public transport
- Wroxham, Hoveton & the northern Broads: 26.5 km from Cromer & Sheringham, better by public transport
- Norwich: 33.4 km from Cromer & Sheringham, better by public transport
- King's Lynn & Sandringham: 55.9 km from Cromer & Sheringham, better by public transport
Reaching Norfolk and the Broads
Officiële reisinformatie
Norwich is the hub for the Broads and the north Norfolk coast, and King's Lynn for the west of the county. Journey times below are the figures the named sources give; always check the operator for current times.
- National Rail: Norwich → — station facilities and step-free access
- National Rail: Hoveton & Wroxham → — the Broads station on the Bittern Line
- National Rail: Cromer → — Bittern Line
- National Rail: Sheringham → — end of the Bittern Line
- National Rail: King's Lynn → — Great Northern trains from London King's Cross
- Visit Norfolk: plan your stay → — the county tourist board
- Visit the Broads → — the Broads National Park visitor site
Tijden, tarieven en storingen veranderen: raadpleeg de bovenstaande pagina's van de vervoerders voor actuele informatie.
Plan hier uw reis
Enter your starting point and Google Maps will show routes to Cromer & Sheringham. Public transport is selected; change it on the map. Check operator sites for live disruption.
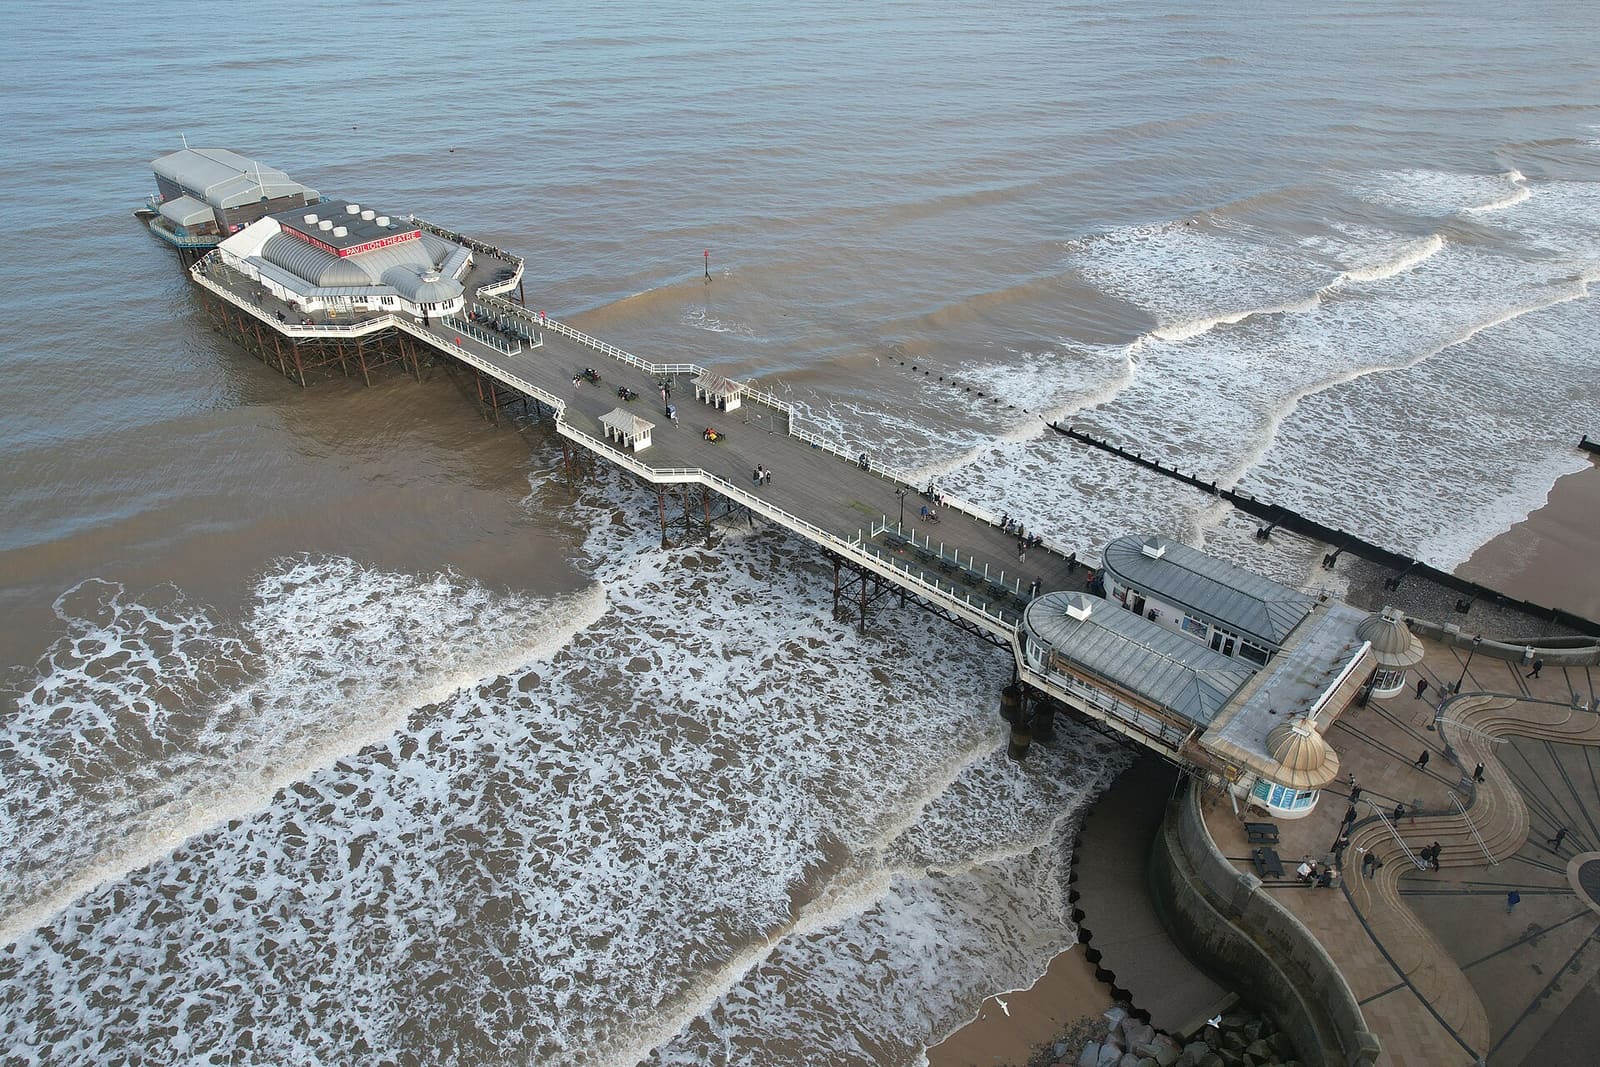
While you are here
Things to see in Cromer & Sheringham
A few of the sights in the area. The Things to do page lists them all, with directions and official links.
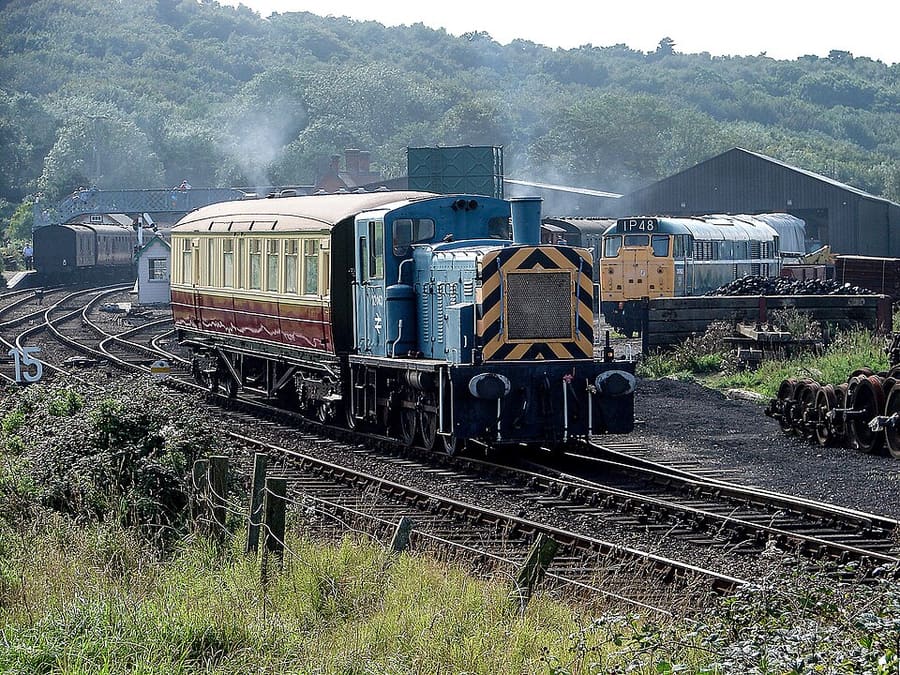
North Norfolk Railway
Heritage steam railway, the 'Poppy Line', running about five miles between Sheringham and Holt.
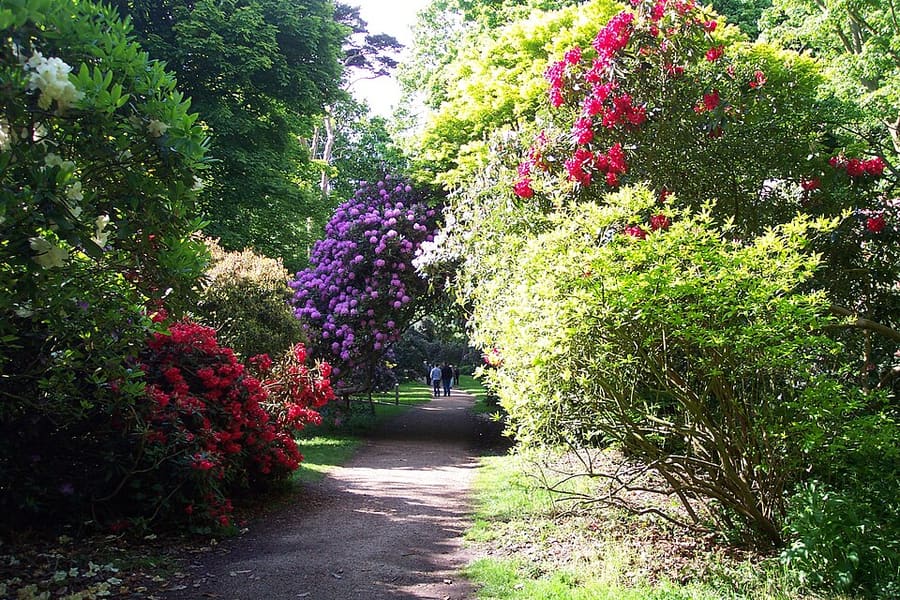
Sheringham Park
Park around Sheringham Hall, designed with Humphry Repton and his son; the National Trust looks after the plantations, which are open to visitors.
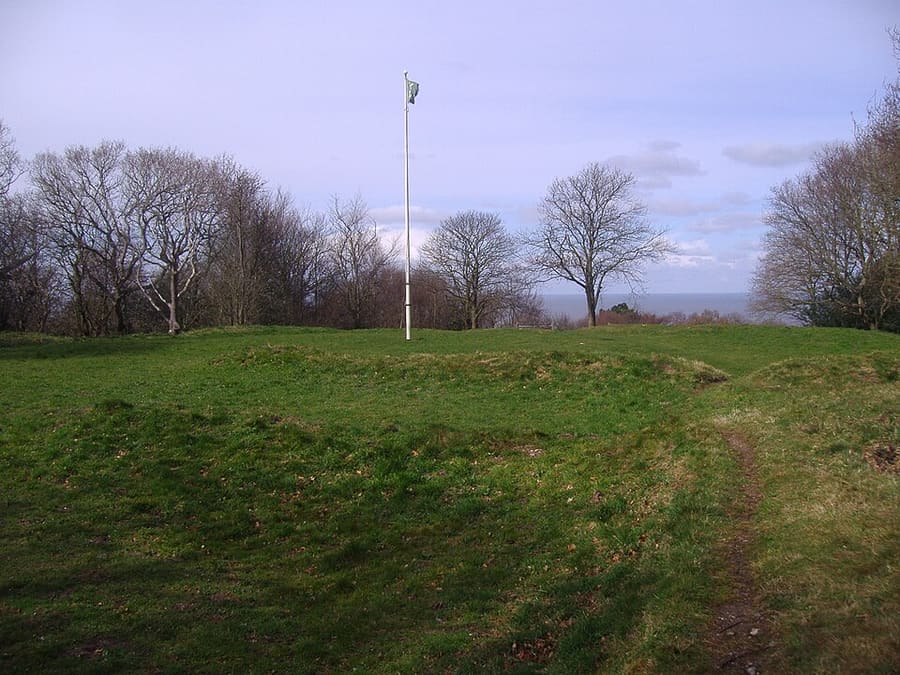
Beacon Hill
The highest point in Norfolk at 105 metres, also known as Roman Camp, with National Trust woodland.
Norfolk and the Broads
More areas to explore
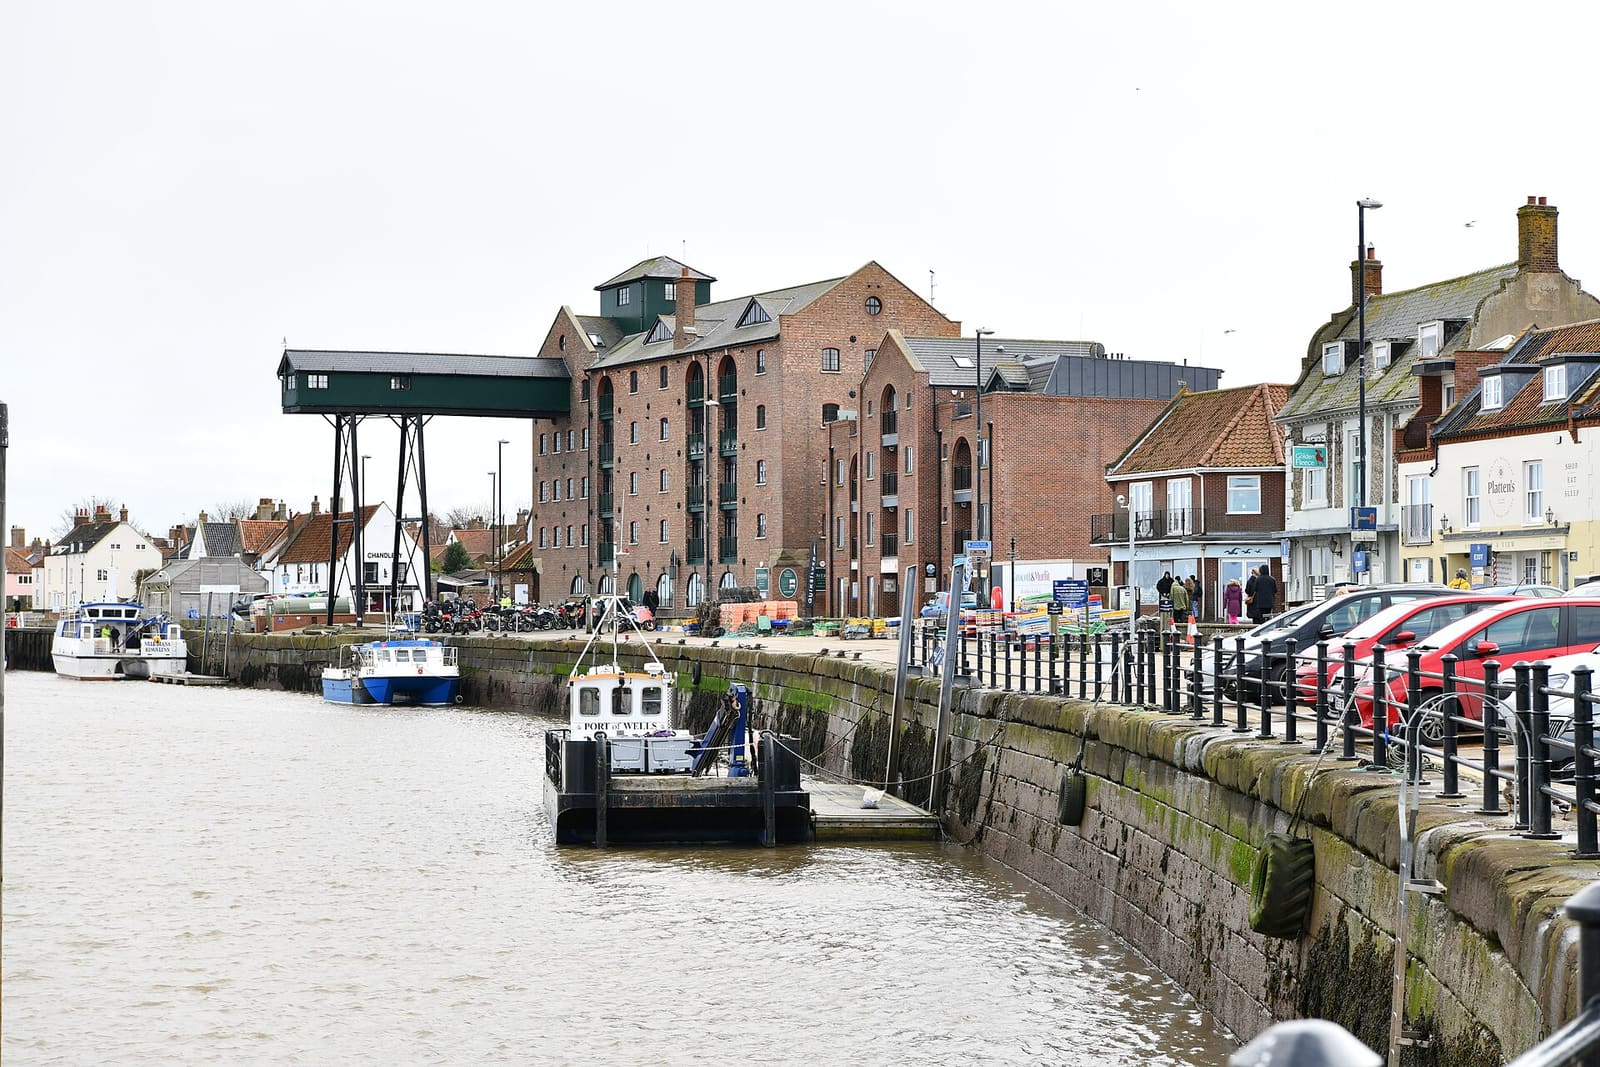
Wells, Holkham & Blakeney
Salt marsh, dunes and seals between a harbour town, a Palladian house and flint villages
Open de minigids →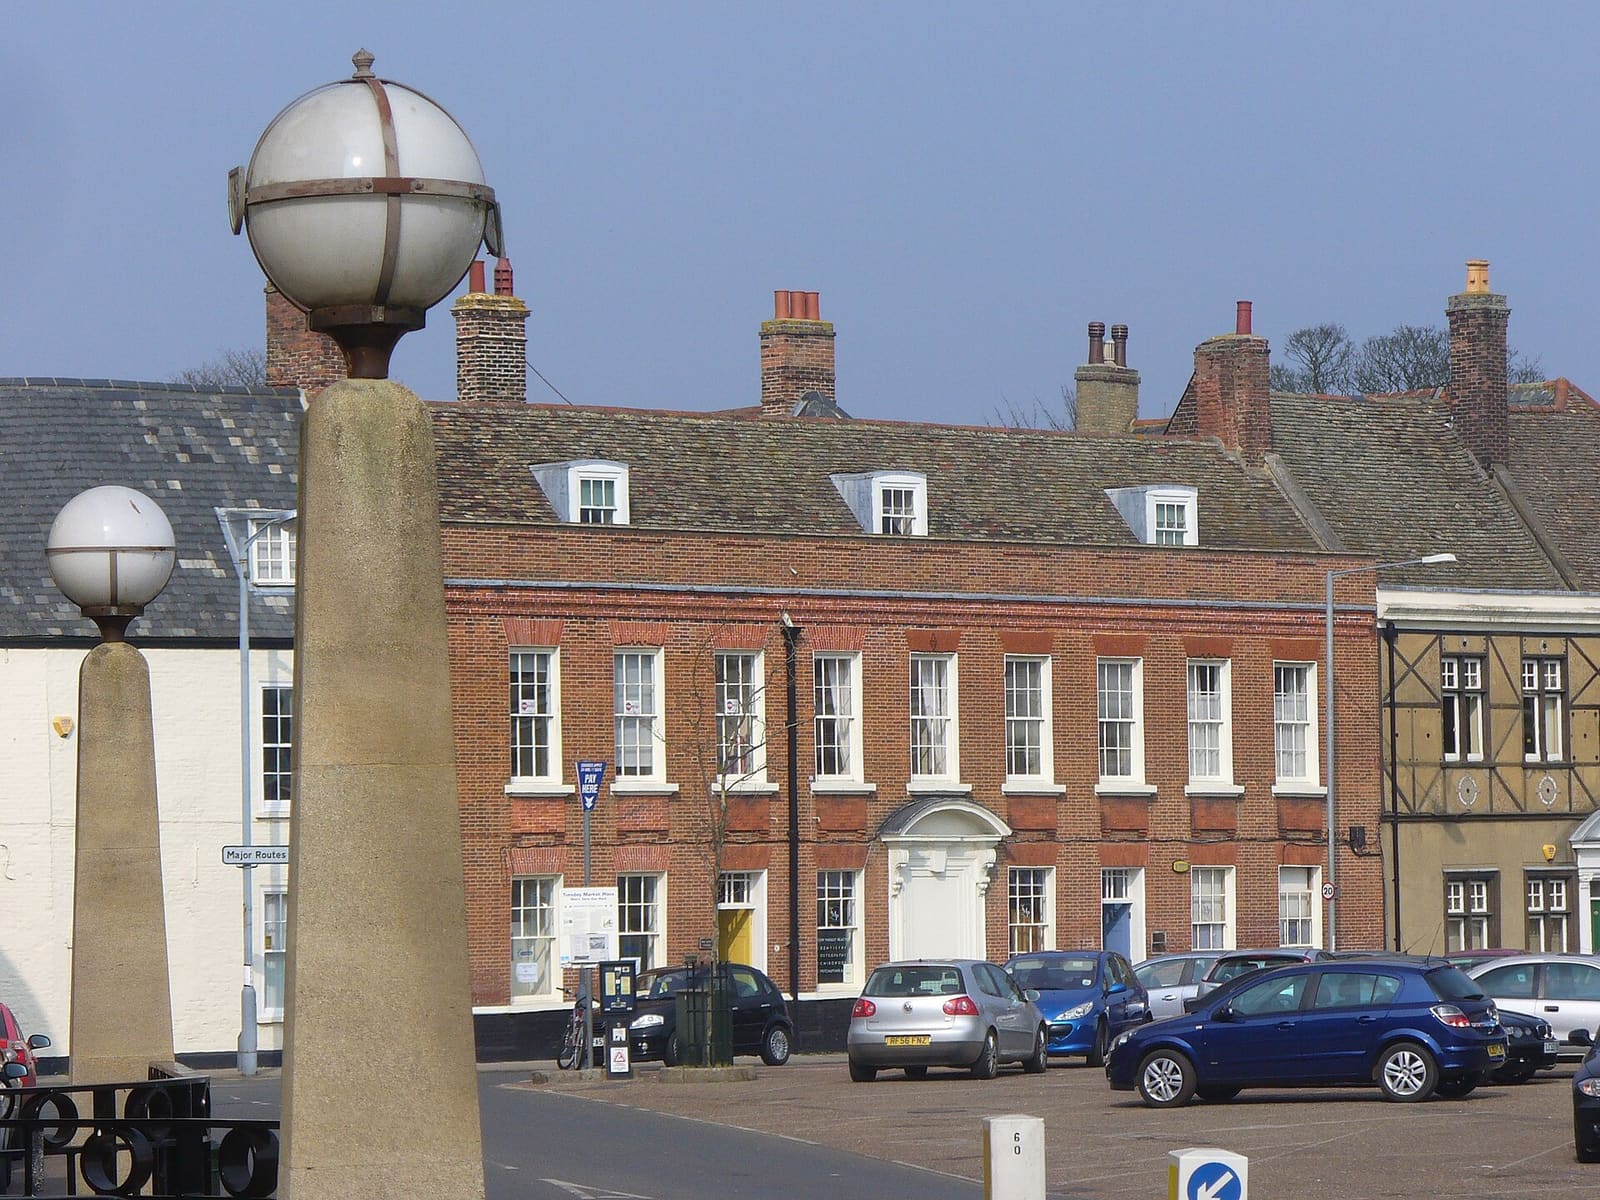
King's Lynn & Sandringham
A medieval port on the Great Ouse, a Norman castle and the royal Sandringham estate
Open de minigids →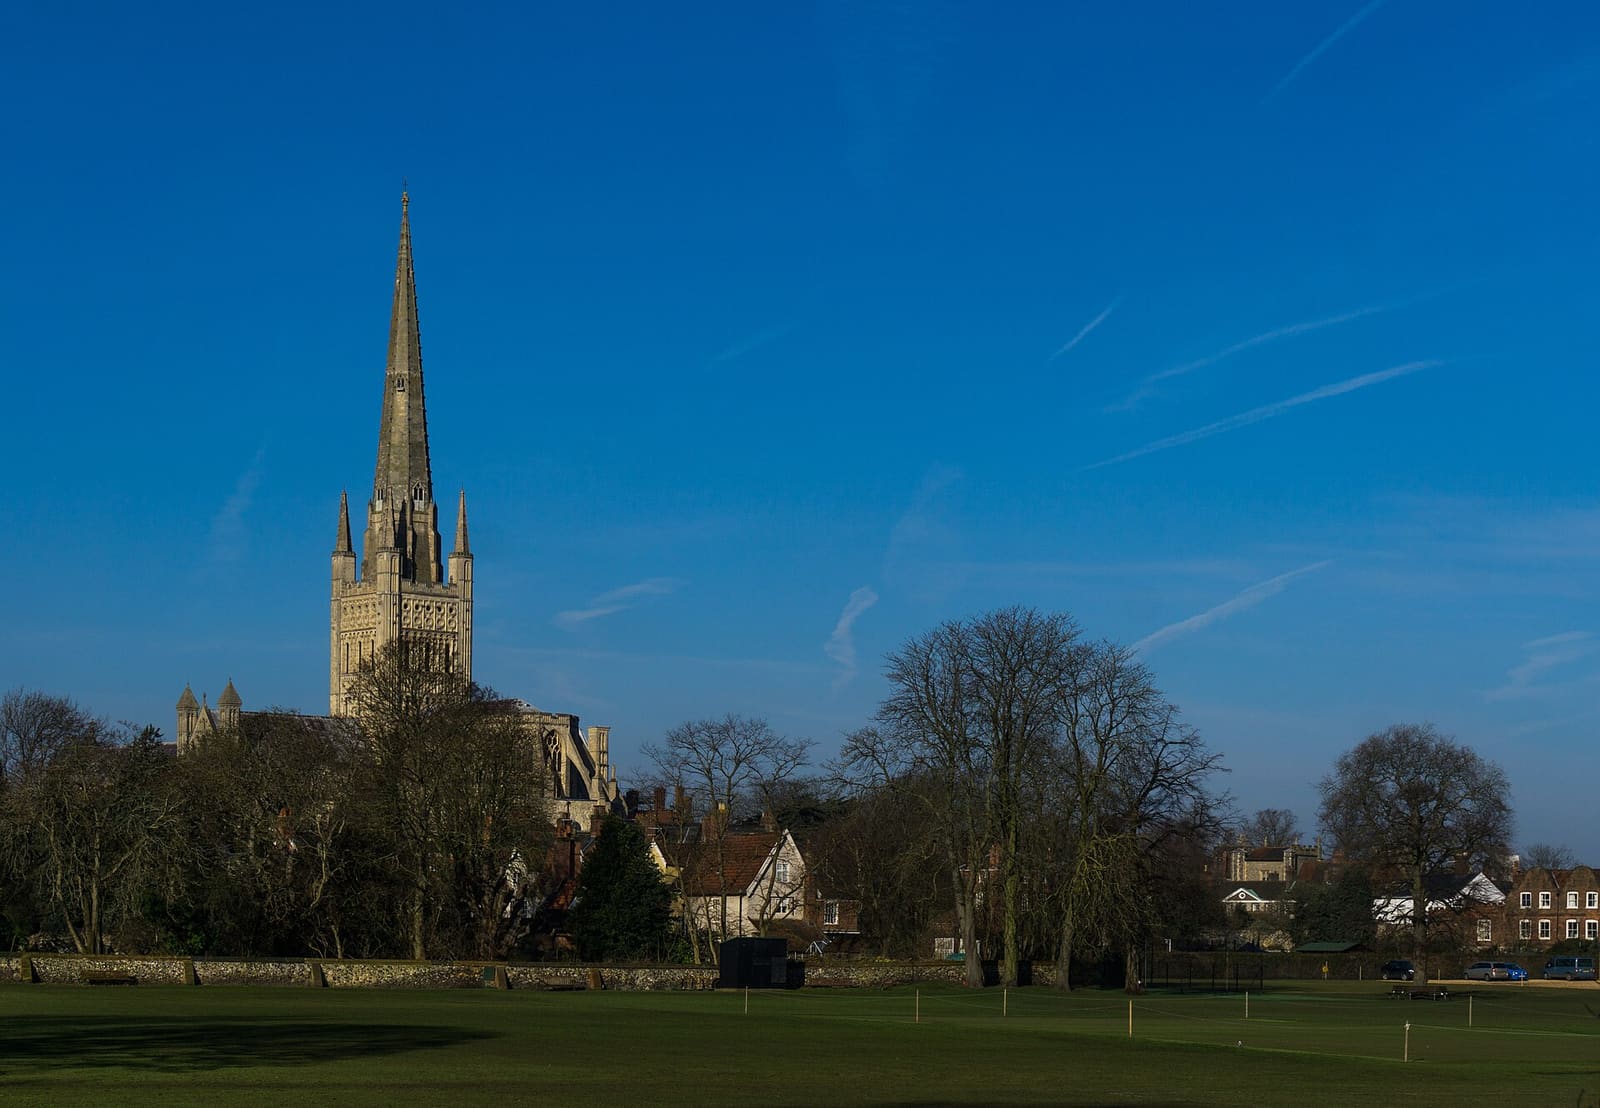
Norwich
A Norman cathedral and castle, a 900-year-old market and medieval lanes in the county city
Open de minigids →Fotoverantwoording
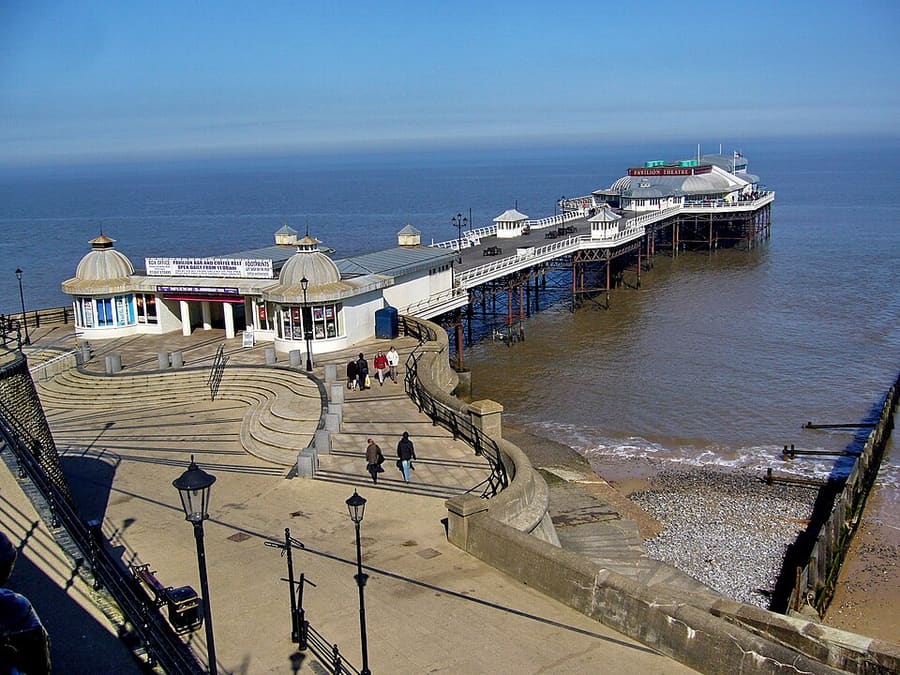
- Cromer Pier: Tanya Dedyukhina, CC BY 3.0, source
- Cromer & Sheringham (area photo): Scribwik, CC BY-SA 4.0, source
- North Norfolk Railway: John Lucas, CC BY-SA 2.0, source
- Sheringham Park: Chris Wood (User:chris_j_wood)., CC BY-SA 4.0, source
- Beacon Hill: Stavros1 at English Wikipedia, CC BY 3.0, source
- Wells, Holkham & Blakeney: Michael Garlick, CC BY-SA 2.0, source
- King's Lynn & Sandringham: Colin Smith, CC BY-SA 2.0, source
- Norwich: Sumit Surai, CC BY-SA 4.0, source
- Wroxham, Hoveton & the northern Broads: Gareth James, CC BY-SA 2.0, source
Photos from Wikimedia Commons, used under the licences shown. All photo credits
Keep exploring Norfolk and the Broads